

How to Identify Vintage Christmas Ornaments
Identifying a vintage Christmas ornament is not about finding one magic clue. A cap, box, pike, finish, or shape can point you in the right direction, but the stronger answer usually comes from the way those details work together.
I think of it like reading the ornament instead of naming it too quickly. What is the material? How was it made? Does the cap belong with the neck? Is the silvering softened or completely missing? Does the box actually match the ornaments inside? Is the wear where you would expect it to be, or is it covering damage?
This guide is meant to help you examine and describe an ornament more carefully. It cannot confirm authenticity or value from appearance alone, and some pieces require documented comparisons or additional research before a specific identification can be made.
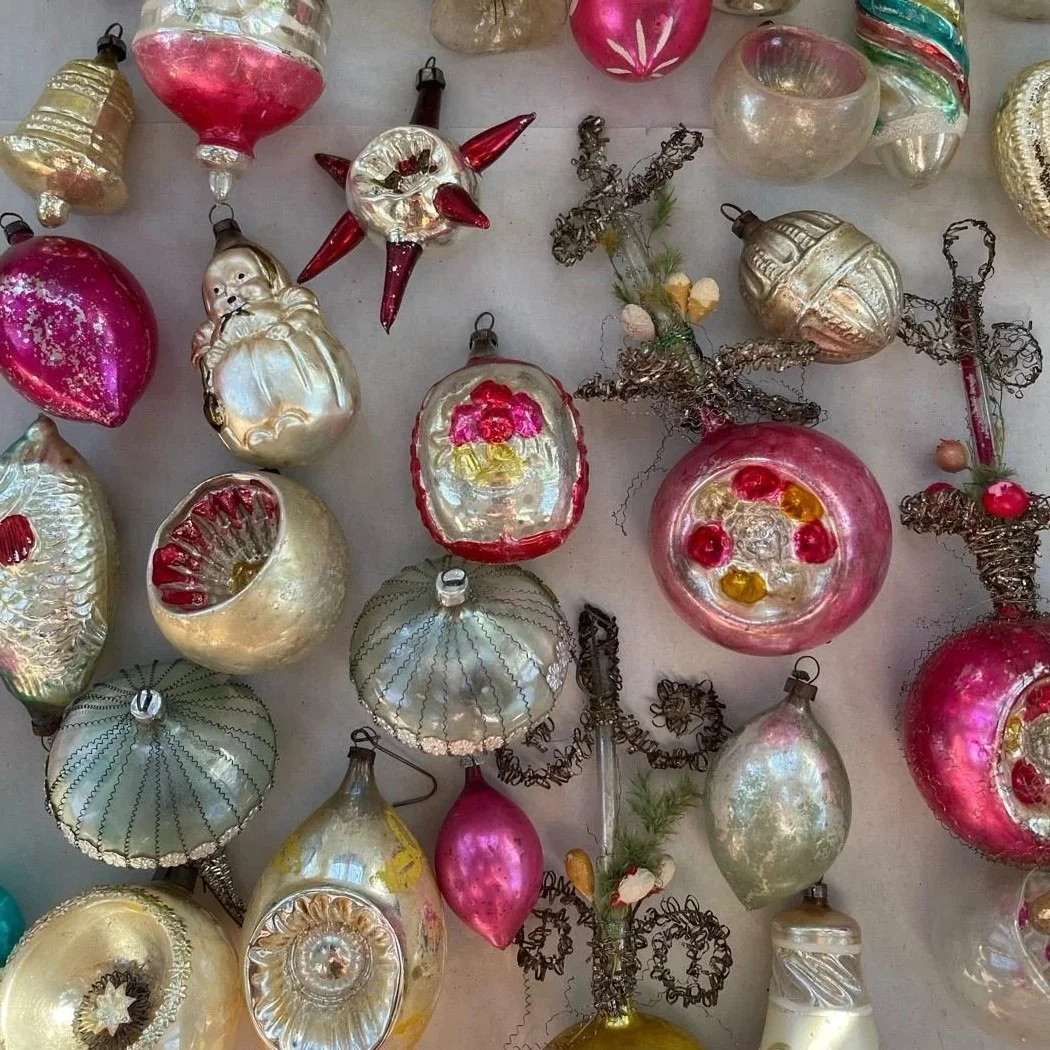
Start with the physical evidence
When I’m sorting a new lot, I do not start with “Is this rare?” I look for a group of details that support one another.
A thin blown-glass figural with a delicate pike, old mica, softened silvering, and a cap that fits naturally tells a different story than a newer-looking ornament with a swapped cap and fresh glitter. A paper cap is worth noticing, but it matters more when it appears with unsilvered glass, simple decoration, cord or yarn, and wartime-style packaging.
Start with the material—and how it ages
Material gives you the first sorting lane because glass, cotton, paper, metal, and plastic do not age in the same way. Begin by identifying what the ornament is made from, then look for wear that makes sense for that material. One clue is rarely enough to establish age.
Glass. Older glass may show softened, spotted, smoked, or missing silvering; rubbed paint on raised details; dull mica; or darkening and residue near the neck. Examine the pike and cap together. A shortened neck, old glue, or a replacement cap can affect identification, while a cap that has aged naturally with the ornament may support the other evidence. Glass is still a broad category that includes balls, figurals, teardrops, reflector indents, unsilvered wartime pieces, and many antique German ornaments. For a closer look at construction, finishes, caps, and common forms, see the vintage glass Christmas ornaments guide.
Spun cotton and cotton batting. Look at the shape of the cotton, its wire structure, the face, paper clothing, trim, and small accessories. Natural toning, fading, light staining, and compressed areas can develop with age. Heavy staining, crushed forms, missing limbs, replaced faces, detached trim, or newer-looking accessories should be noted separately rather than treated as proof that the entire piece is old.
Paper, cardboard, and Dresden-style trim. Examine the edges, folds, printing, glue, and attachment points. Older pieces may show foxing, fading, brittle or creased edges, darkened adhesive, and places where dried glue has released. These materials are fragile, however, so damage alone does not establish age. Newer paper can also be distressed, and old paper components may have been added to a repaired or assembled ornament.
Metal, wire, foil, and tinsel. These materials often appear as caps, frames, hooks, clothing, wings, decorative trim, or internal supports. Look for tarnish, oxidation, darkening, bent wire, flattened foil, dried glue, and wear where components meet. Very bright wire, fresh glitter, or new-looking tinsel on an otherwise worn ornament may indicate a repair, but condition and storage can vary widely.
Plastic and mixed materials. Plastic does not automatically mean new; many midcentury and later ornaments were molded from plastic or combined it with paint, foil, flocking, fabric, paper, or metal. Check molding seams, painted details, attachment methods, surface wear, and whether all the components appear to belong together. With mixed-material ornaments, judge each part individually and then ask whether the construction and wear tell a consistent story.
Age should appear as a believable pattern. Light rubbing around a cap is different from glitter added over a crack, and a naturally dulled surface is different from water damage. Old does not automatically mean desirable, and damage does not automatically prove age.
Use wartime clues carefully
Wartime American ornaments are one of the places where the details get very specific.
Golden Glow’s article on unsilvered WWII paper-cap ornaments lays out a helpful sequence. From 1939 through 1941, American-made glass ornaments were still silvered inside with a silver nitrate solution and often had metal caps marked “Made in the US of A.” By 1942, silver nitrate restrictions led to unsilvered ornaments. Some companies added a small piece of tinsel inside to bring back sparkle. Around 1943, metal caps became harder to use, and companies turned to paper or cardboard caps, cord, yarn, cardboard hooks, or even small wood pieces inside the neck. By 1946, standard silvering and metal caps marked “Made in the USA” were returning.
That is useful information, but it still belongs to a cluster of clues.
A stronger wartime case might include:
Unsilvered glass, sometimes with a small piece of tinsel inside
A paper or cardboard cap
Cord, yarn, cardboard, or another substitute hanger
Simple painted decoration
American packaging or provenance that supports the period
One wartime feature by itself is not enough. An unsilvered ornament is not automatically WWII. A paper cap is not automatically WWII. A piece of tinsel inside is not automatically WWII. The evidence gets better when the details agree.
Be careful with “Victorian” materials
“Victorian” is another word that gets stretched in the marketplace.
Golden Glow’s page on Victorian homemade ornaments describes handmade pieces made from decorated store boxes, chipboard, gold or silver paper, Dresden trim, printed scraps, tinsel, paper doilies, fabric, tissue, crepe paper, and cotton batting over cardboard. Those are useful material clues, especially when you are looking at handmade ornaments, trinket-box forms, paper scraps, cotton pieces, or old tinsel-trimmed decorations.
But the material alone does not give you the date.
A cotton batting ornament with old paper scraps and darkened glue deserves a closer look. A chipboard piece with Dresden trim and brittle paper may fit an older handmade tradition. Still, “Victorian” is a strong claim. It should be supported by construction, provenance, comparison, or reliable documentation.
The same goes for tinsel. Older tinsel and lametta-style decoration have a long material history, including silver, aluminum, copper, lead, and later plastic versions. I would describe what is present before using tinsel to make a date claim.
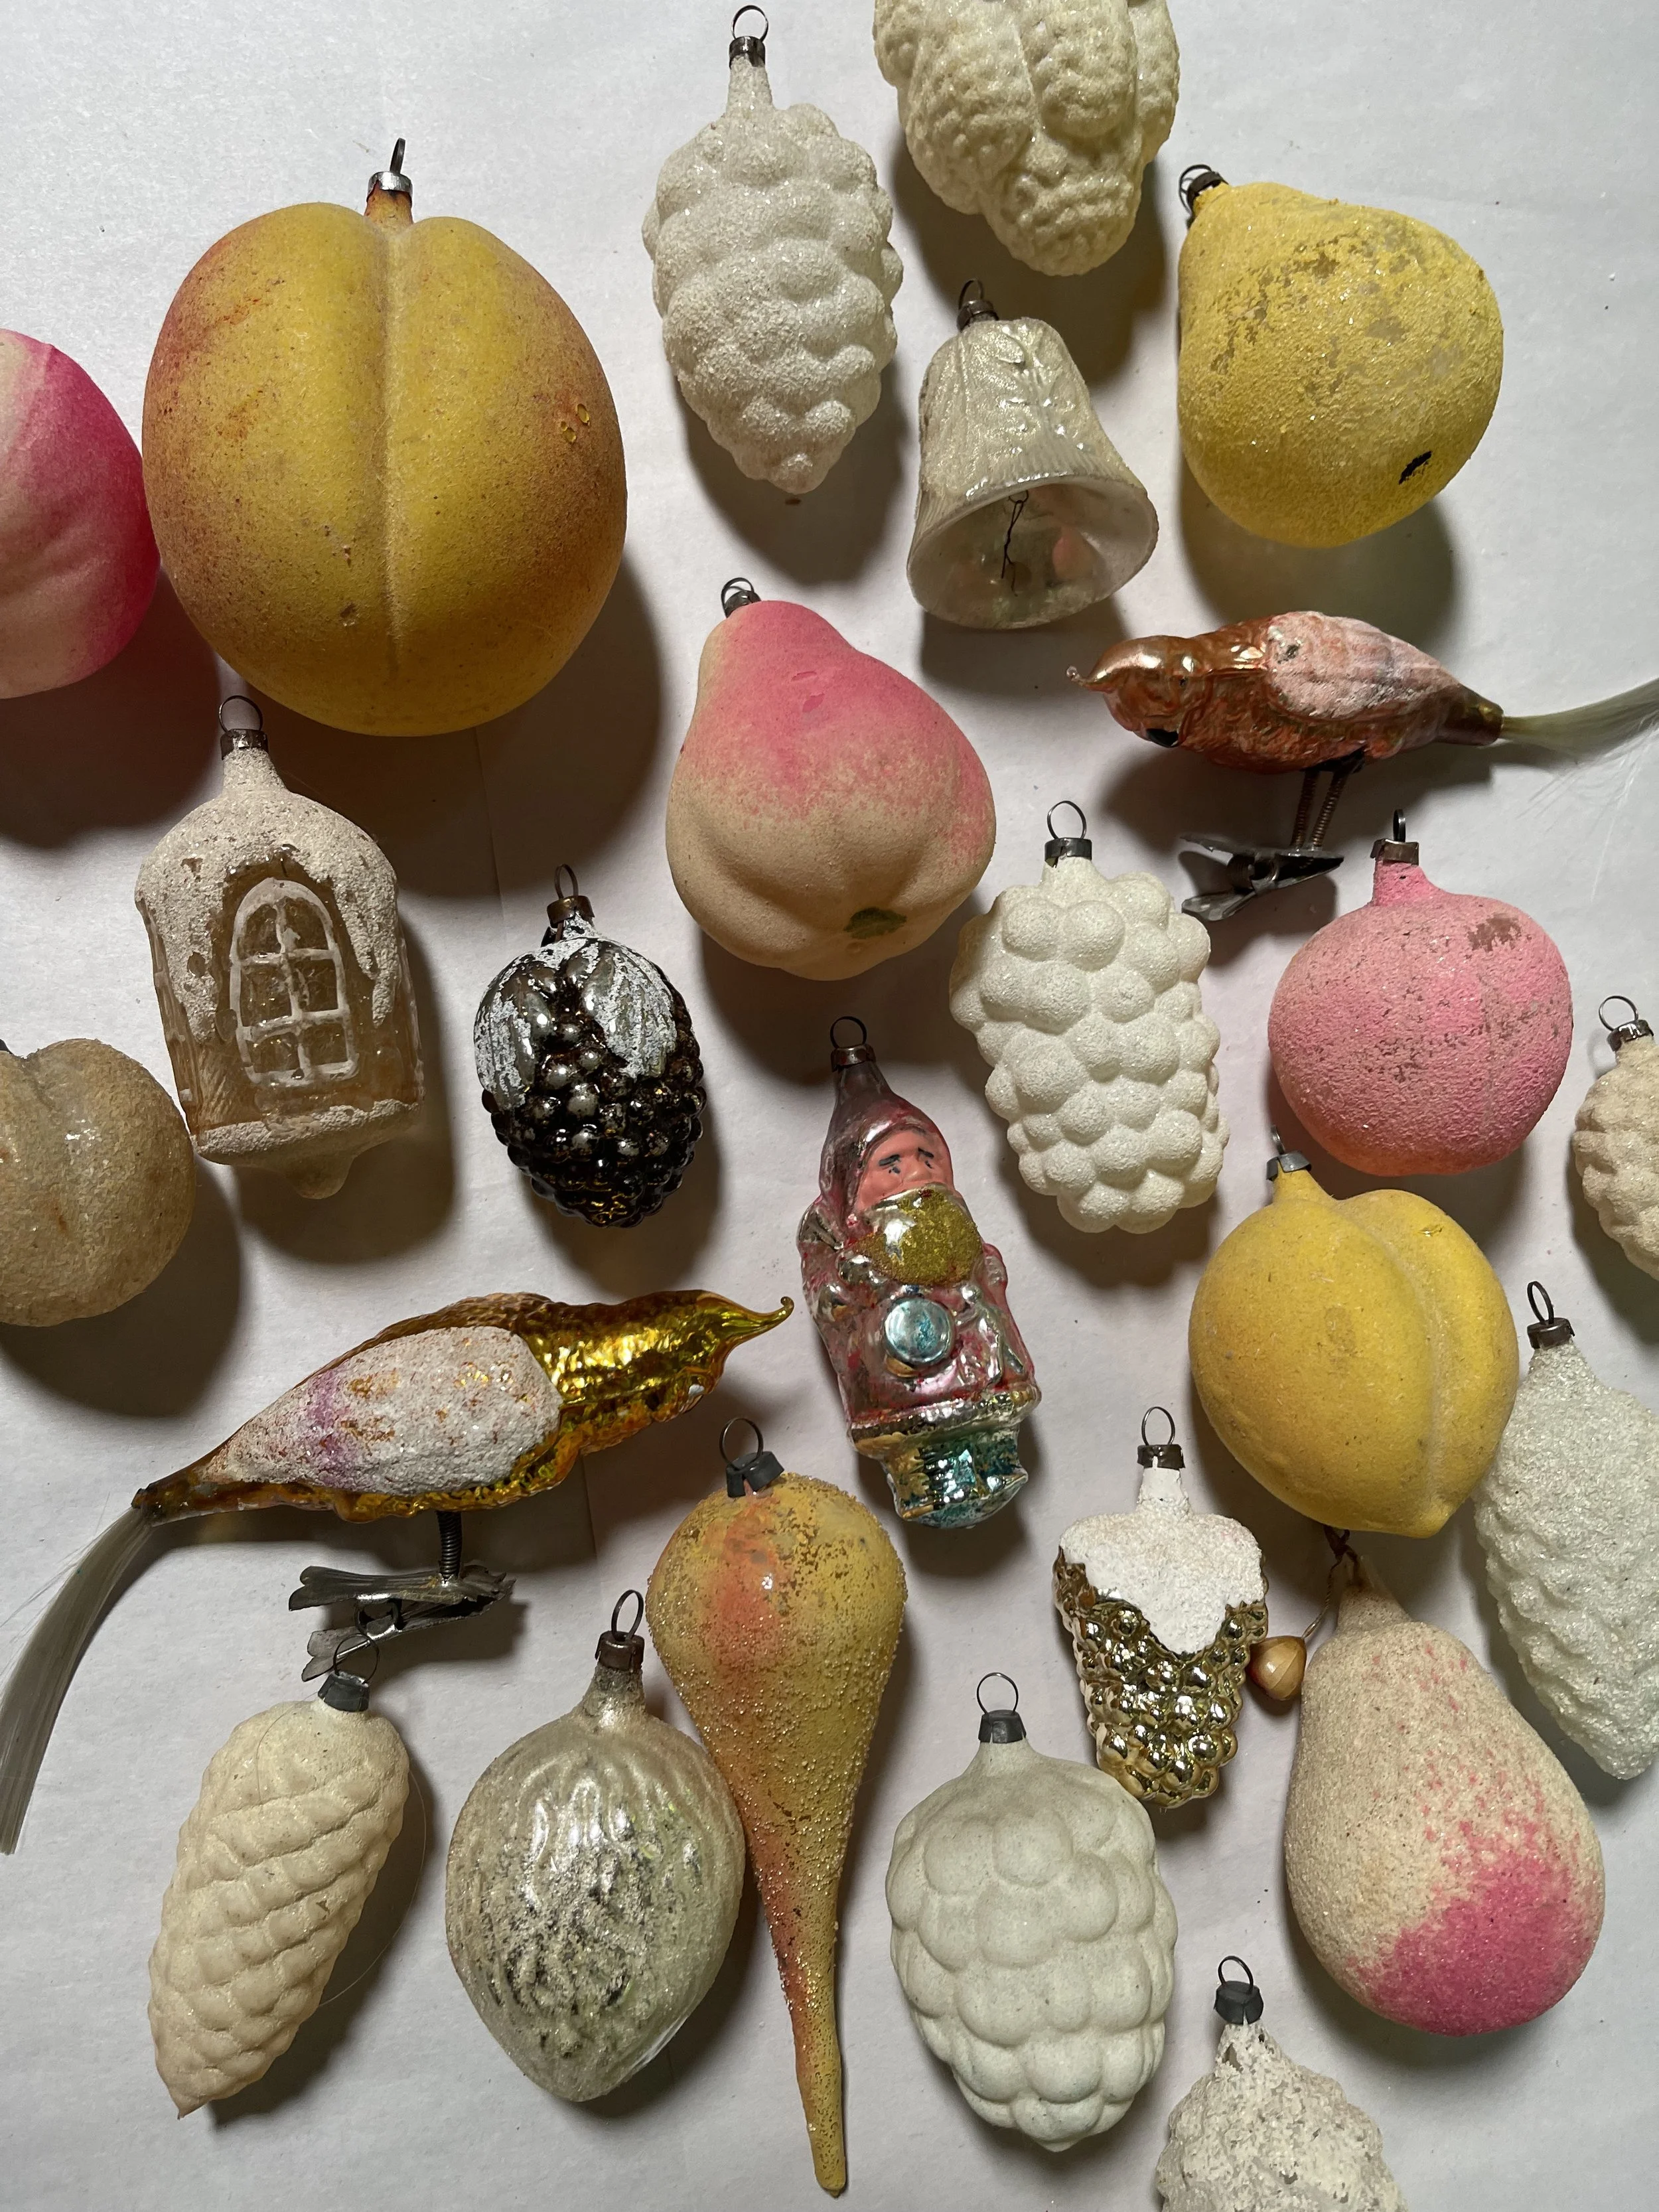
Mixed-material pieces are worth a close look: fabric, cotton, wire, trim, and paint can age differently from the glass around them.
Study the shape
Shape places an ornament into a collecting lane. It does not finish the identification.
Round balls, bells, teardrops, pinecones, icicles, reflectors, figural ornaments, garlands, tree toppers, and miniature forms all draw different kinds of collector attention.
A round glass ball might be common, but the details still matter. Look at the color, stencil, stripe, cap, box, and whether it belongs to a set. A plain ornament can be beautiful without being rare. A boxed set with strong graphics, intact dividers, unusual color, or matching stenciled ornaments has a different kind of appeal.
Reflector and indent ornaments have a recessed center that catches light. Some are simple; others are deeply molded, double-sided, striped, mica-trimmed, or made in unusual color combinations. For that form, read the guide to vintage indent Christmas ornaments.
Figural ornaments need especially close looking. A bird, fruit, basket, Santa, house, vegetable, instrument, animal, or space figure gives you a starting point. Then check the glass thickness, mold seams, paint placement, silvering, cap, pike, and wear. Subject matter alone is not enough.
Tree toppers, finials, and glass bead garlands also belong to their own collecting lanes. Their scale, construction, decoration, and whether they form a matched set can all help narrow the identification.
Check the cap and pike
Caps are helpful, but they are also one of the easiest parts to lose, replace, or swap.
Start with the cap material. Is it metal, paper, cardboard, or missing entirely? Then look at the wording. Some American caps are marked “Made in US of A,” “Made in USA,” “Made in U.S. of A.,” or “Shiny Brite Made in U.S.A.” Markings are useful, especially on American-made glass, but they still need to agree with the rest of the ornament.
Now look at the fit. A cap that is too shiny, too clean, too tight, too loose, too large, or sitting oddly on the neck deserves attention. Sometimes a cap is simply wrong. Sometimes it is hiding a chipped pike, shortened neck, glue repair, or crack.
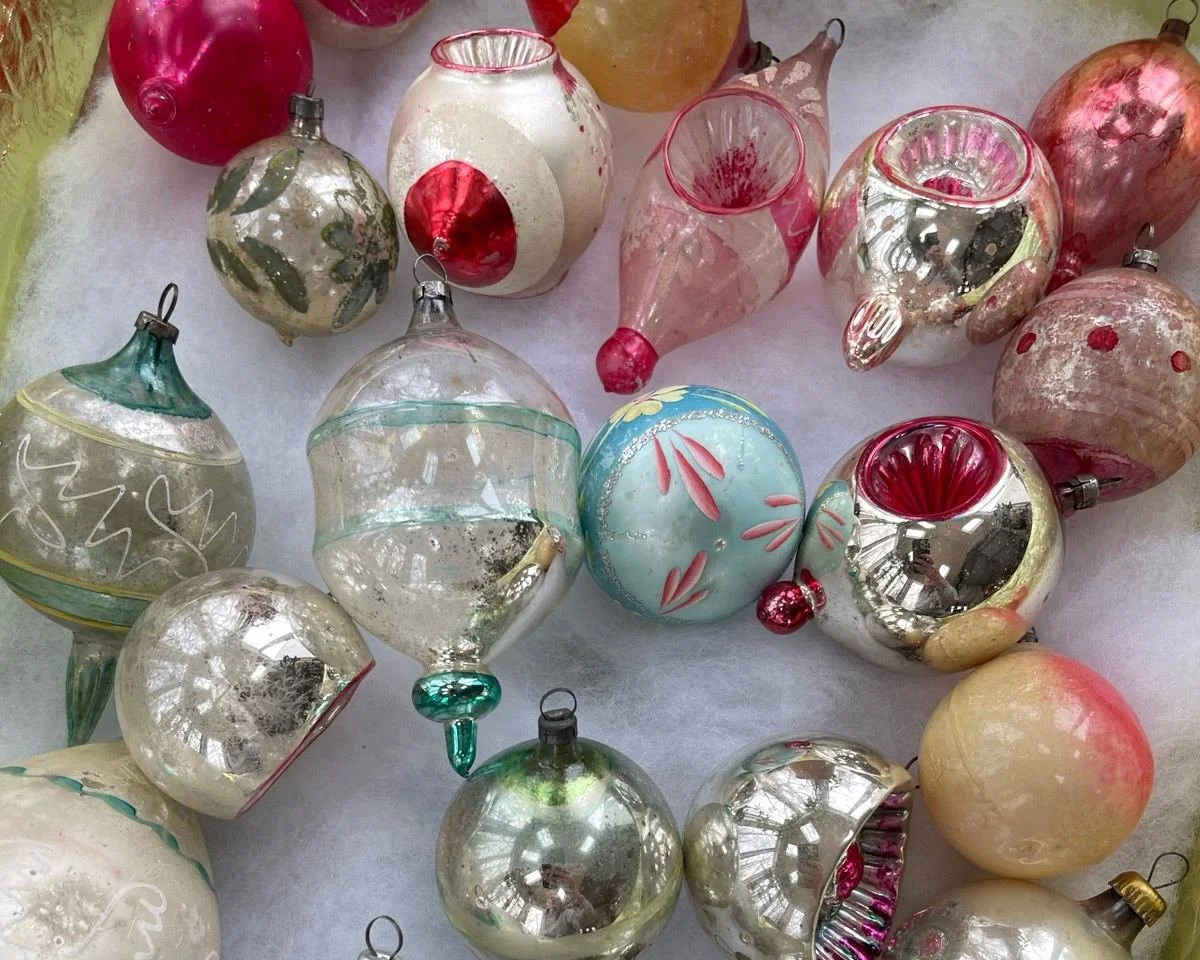
Compare the cap to the neck and the rest of the ornament. A useful cap clue still needs to fit the glass, finish, hanger, and any box or label.
The pike matters just as much as the cap. On older blown-glass ornaments, look for thin glass, rough breaks, glue residue, cracks under the cap, or signs that the neck has been shortened. Do not force off a tight cap just to inspect it. If the ornament is fragile, look around the edge with care and leave it alone.
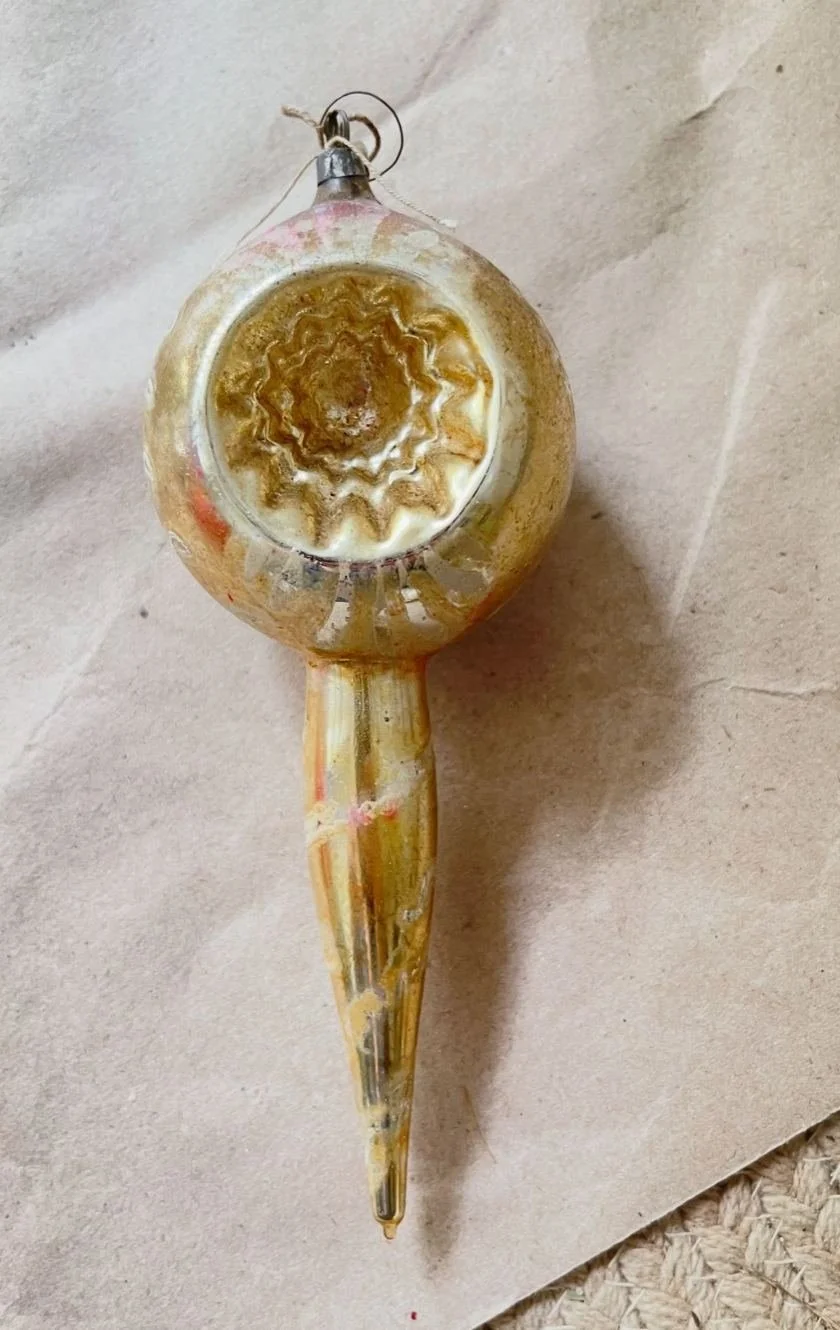
Long forms are useful for studying necks, caps, molded surfaces, and fragile points before making a more specific identification.
Aging often gathers near the cap: softened silvering, dark residue, old hanger marks, tarnish, oxidation, rust, or crimping wear. Those details help when they match the rest of the piece.
Antique German pieces often require close cap and pike inspection because the forms can be delicate and the details small. The guide to antique German Christmas ornaments goes deeper into that category.
Study the finish, not just the color
Color gets your attention. Finish tells more of the story.
Look at how the ornament was decorated. Is it silvered, unsilvered, painted, lacquered, striped, stenciled, flocked, mica-covered, glittered, or trimmed with tinsel?
Corning Museum of Glass describes the traditional mold-blown process as glass blown into a mold, silvered inside with a silver nitrate and sugar-water solution, and then decorated with painted lacquers, glitter, feathers, or other applied details. That gives you better language for what you are seeing: interior silvering, lacquered color, applied trim, glue, mica, flocking, or hand-painted detail.
When you inspect the finish, look at where the wear sits.
Age-consistent wear often gathers around the cap and pike, across raised mold details and high points, along painted stripes, and on mica-covered or flocked areas. Those are places repeatedly touched by hands, hooks, packaging, and neighboring ornaments.
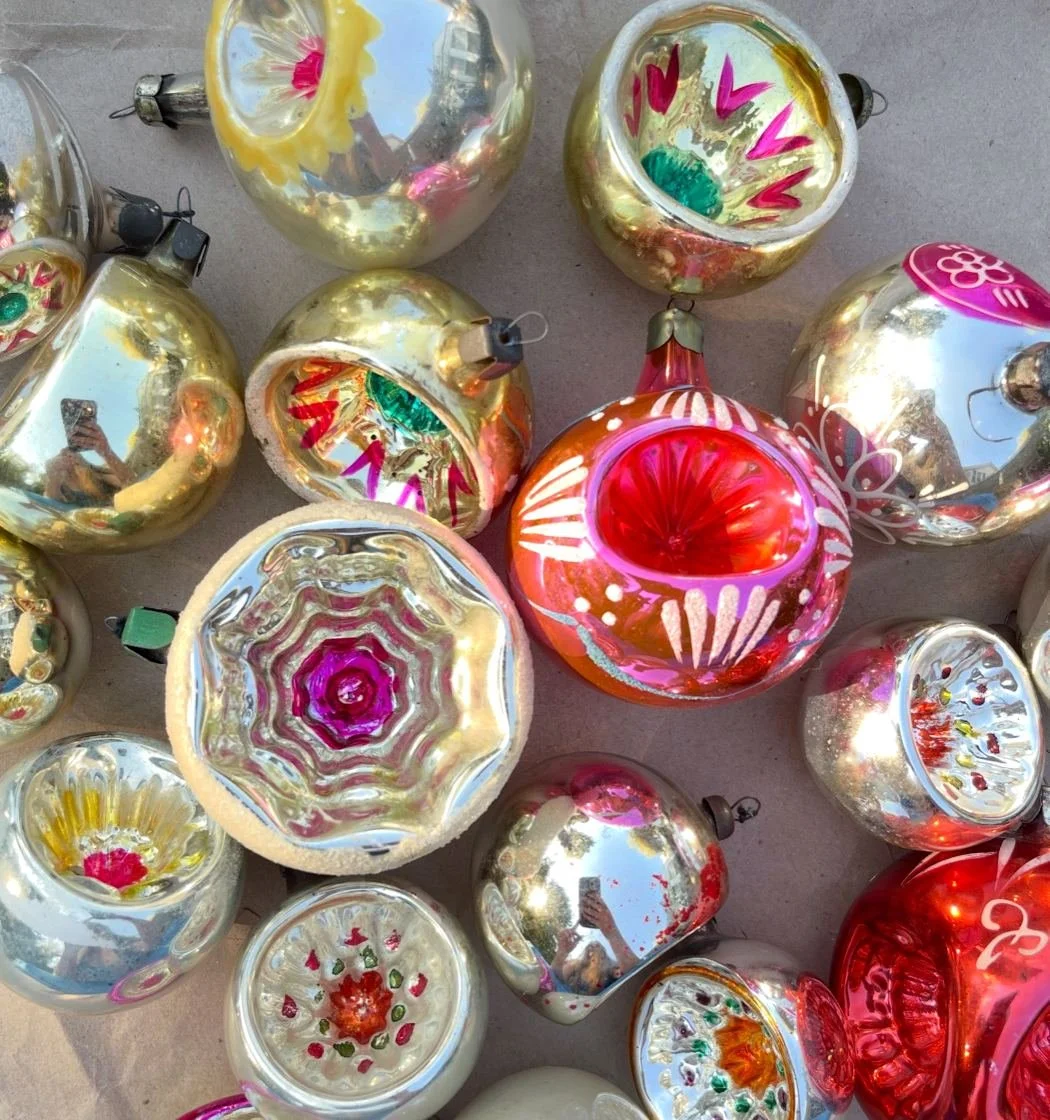
Reflector cavities make finish issues easier to see: softened silvering, rubbed paint, oxidation, and worn high points all belong in the condition notes.
Be more cautious when the decoration looks too fresh. Bright new glitter, glossy touch-up paint, modern flocking, or decoration sitting on top of older damage can point to repair or alteration. That does not make the ornament worthless. It just needs to be described honestly.
Useful descriptions are often simple: silvered glass with painted stripes, unsilvered glass with tinsel inside, a mica-trimmed indent, a flocked surface with paint loss, a stenciled midcentury ball, or a paper-cap ornament with a cord hanger.
Those descriptions are stronger than forcing a date or origin that the ornament cannot fully support.
Match the claim to the evidence
This is the part collectors care about.
“Older glass ornament” is a lighter claim than “antique German.”
“Midcentury American-style” is a lighter claim than “Shiny Brite.”
“Wartime-style features” is a lighter claim than “World War II ornament.”
“Glass bead garland” is cleaner than using “mercury glass” as a blanket technical term.
The more specific the claim, the more support it needs.
American-made glass is one useful example. Corning Museum of Glass identifies a Shiny Brite set by Max Eckardt & Sons and Corning Glass Works as machine-made, enameled, and silvered, dating about 1938–1960; The Henry Ford also documents the wartime shift to Corning-produced American glass. That history can support terms such as machine-made glass, American-made glass, marked cap, or boxed set, but it does not make every shiny midcentury ornament a Shiny Brite. Compare the cap, box, construction, and finish before using the brand name.
German ornaments are often associated with early blown glass, figural forms, indents, fruits, birds, baskets, bells, houses, mica, delicate pikes, and hand-finished details. That does not make every thin glass ornament German.
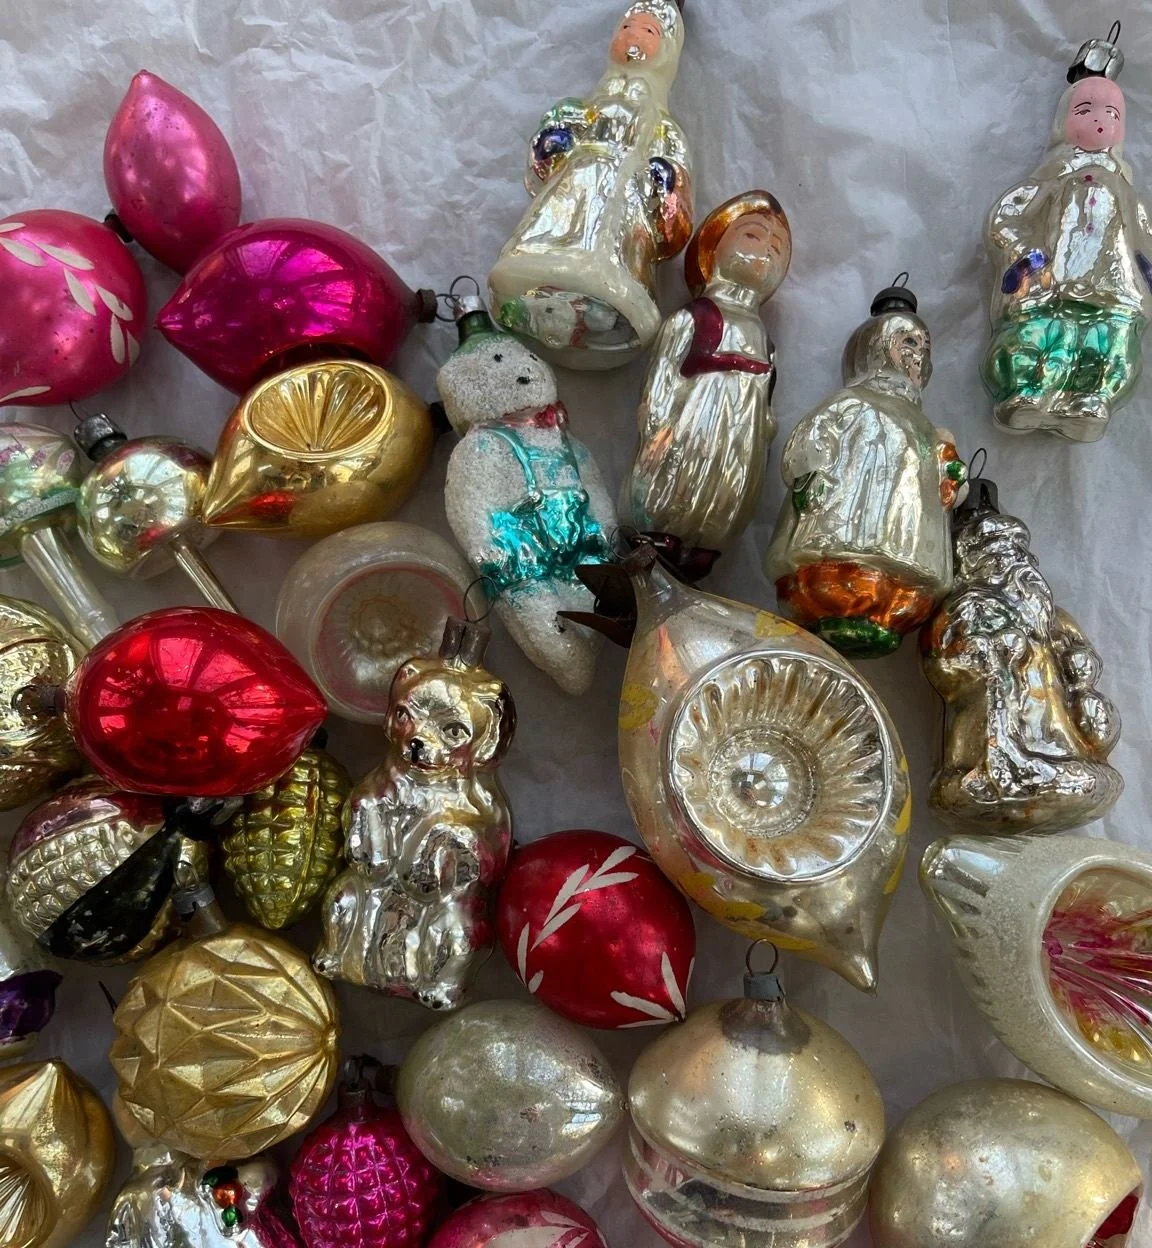
Production history helps explain why collectors compare construction details: molded forms, delicate necks, caps, and hand-applied decoration all need to be read together.
Polish glass is often collected for strong color, scale, stripes, teardrops, icicles, jumbo forms, and dramatic shapes. American midcentury ornaments are often found in boxed sets, stenciled balls, stripes, bells, teardrops, and familiar holiday colors. Soviet-era ornaments may include winter figures, storybook characters, animals, vegetables, space themes, houses, and other distinctive subjects.
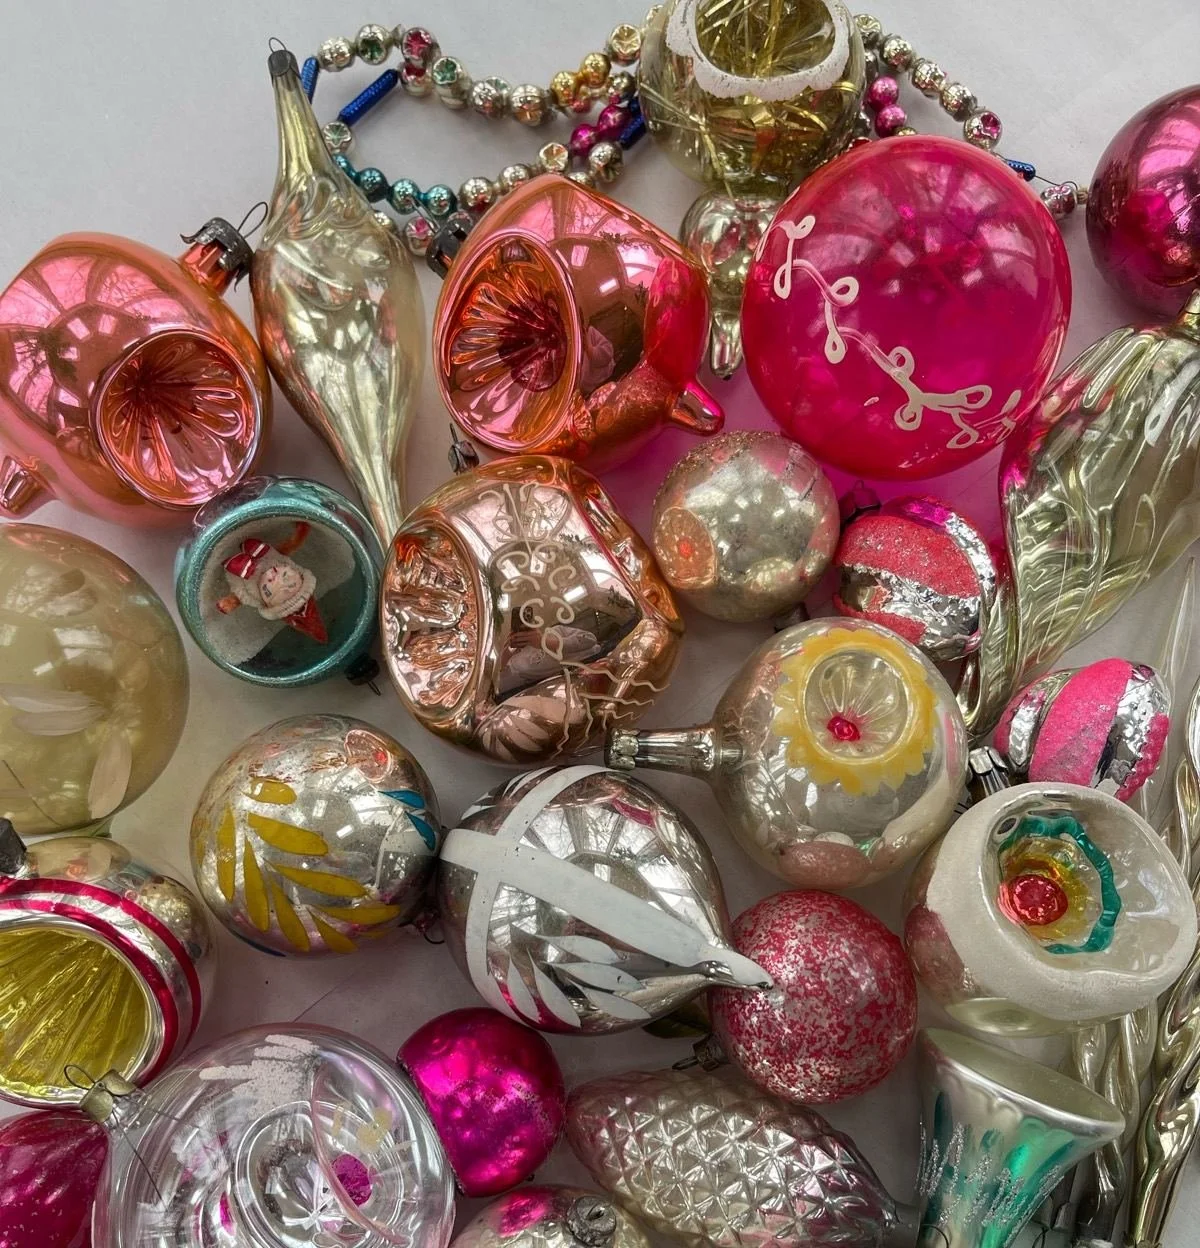
Shape, color, and scale can suggest useful collecting categories, but they should not be used as country-of-origin proof without stronger support.
Those patterns are useful. They are not shortcuts. Origin is usually supported by form, construction, cap, finish, box, label, and reliable history.
Use boxes and labels, but do not trust them blindly
A box can be wonderful evidence. It can show maker, country, quantity, graphics, store information, and period style. A complete set in the right box often gives collectors more confidence than loose ornaments with no context.
But families reused boxes for decades. A Shiny Brite box may hold non-Shiny Brite ornaments. A German ornament may end up in a later American box. A sturdy department-store box may have become family storage. A loose label may have nothing to do with the ornament beside it.
Look closely:
Do the quantity, sizes, colors, and shapes make sense for the box and its dividers?
Are the caps and general aging consistent across the set?
Do the box illustration, labels, price tags, tissue, or store markings support the identification?
Does any ornament appear to have come from a completely different set?
Photograph the box with the ornaments. Save dividers, tissue, price tags, notes, and labels. That paper trail can matter later.
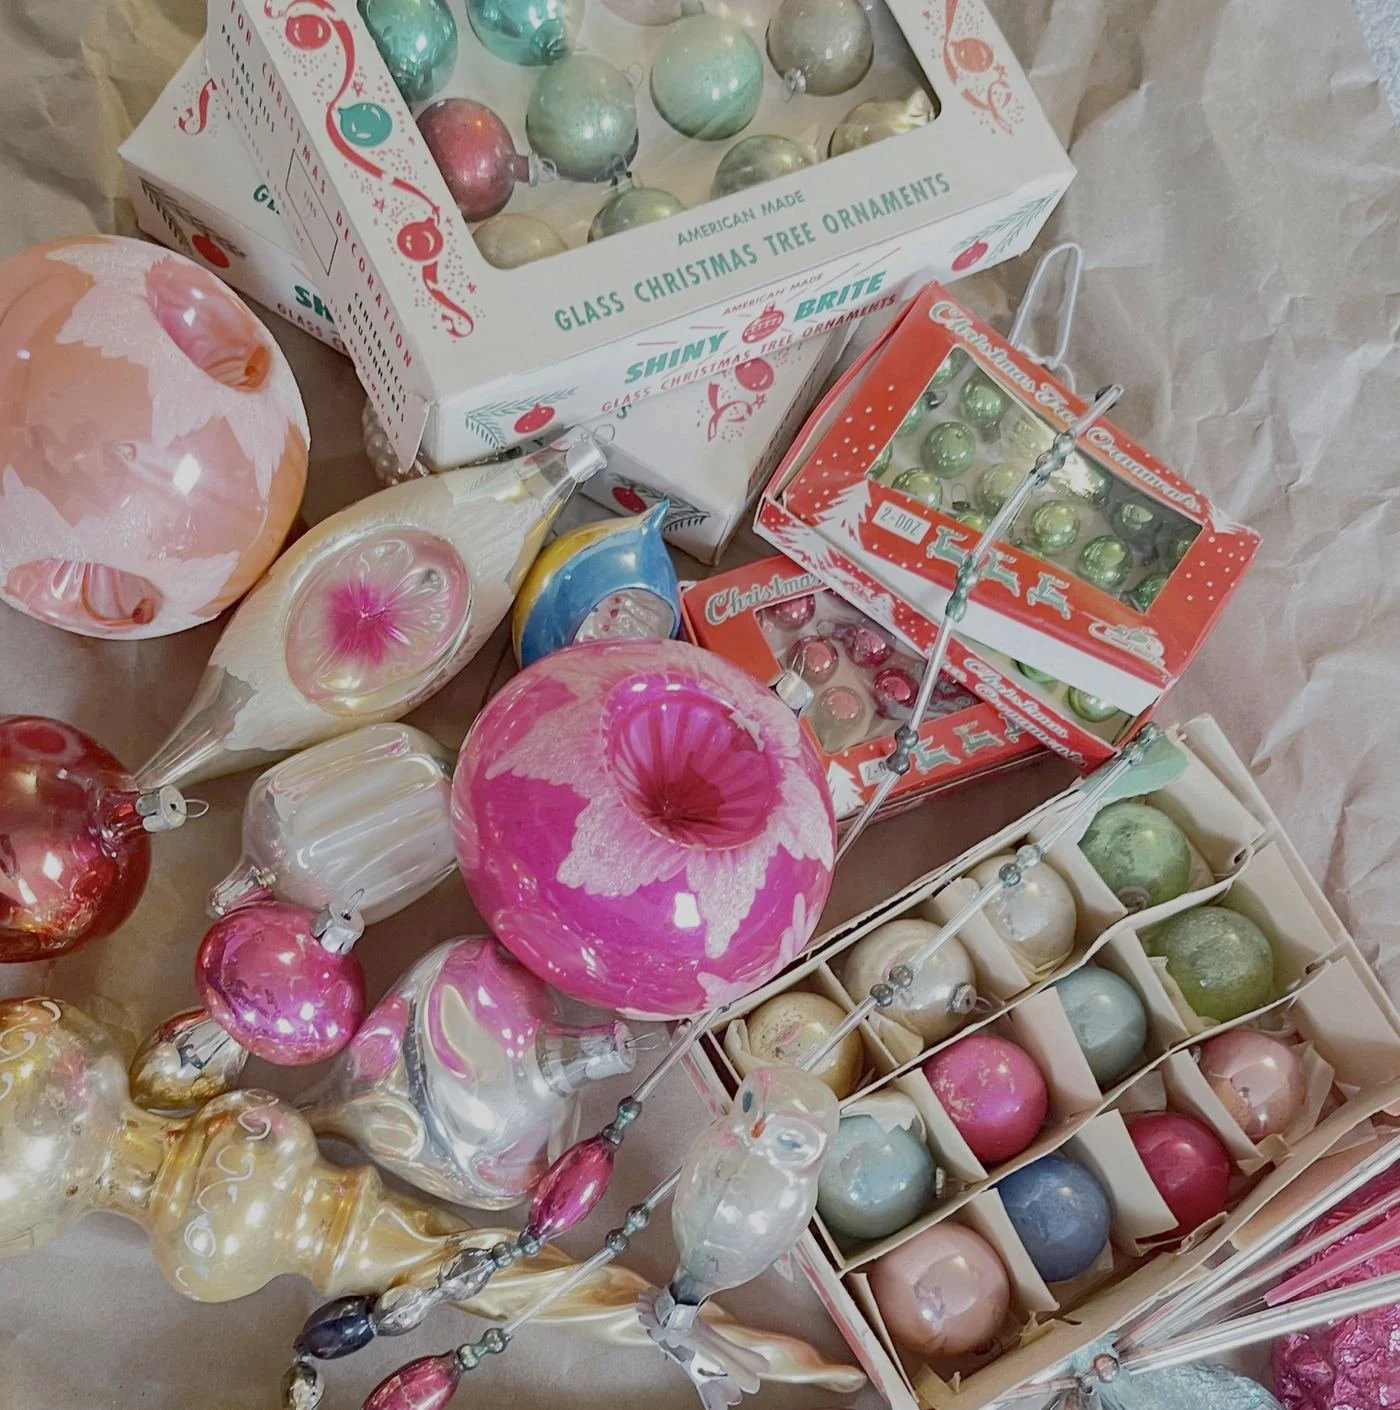
Boxes can be useful evidence, but only when the sizes, contents, caps, labels, and condition clues make sense together.
Look at condition without confusing it for age
Condition affects value, but it also affects identification.
Age-consistent wear can include softened silvering, rubbed stripes, light paint loss at high points, oxidized caps, darkened cotton, brittle paper, faded mica, dull glitter, or old hanger marks. These details are helpful when they line up with the ornament’s construction.
Damage is different.
Cracked glass, broken pikes, unstable caps, heavy flaking, missing pieces, crushed cotton, water damage, glue repairs, modern repainting, or replaced trim should be noted plainly. Damage does not prove age, and age does not cancel out damage.
Tree toppers and finials should also be checked for missing points, unstable bases, cracks, paint loss, and repairs near the base. For glass bead garlands, note string condition, bead loss, flaking, and whether the surface is stable enough to handle.
If you are handling fragile glass, cotton, mica, paper, or painted finishes, read the care and storage guide before cleaning or displaying anything.
If you are trying to understand why one old ornament draws more interest than another, the vintage ornament value guide explains how age, form, condition, rarity, provenance, and demand work together.
A quick identification checklist
Use this when you are looking at an ornament in person or reviewing listing photos.
Material and construction: What is it made from, and does it appear blown, molded, machine-made, wired, assembled, or handmade?
Shape: Is it a ball, bell, teardrop, pinecone, indent, figural, miniature, topper, garland, or another recognizable form?
Cap and hanger: Note the cap material, wording, fit, and whether the hanger appears original or replaced.
Pike or neck: Check for thin glass, chips, shortening, cracks, glue, or damage hidden beneath the cap.
Finish: Describe the silvering, paint, lacquer, stencil, mica, flocking, glitter, tinsel, or applied trim.
Wear and repairs: Decide whether the wear fits the construction and handling points, and note repainting, regluing, replacement parts, or other alterations.
Box and provenance: Determine whether the packaging belongs with the ornament and record labels, receipts, family history, or documented comparisons.
Confidence: Make only the claim the combined evidence supports; when uncertain, describe the clues instead of forcing an identification.
When to keep researching
Slow down when a piece has an unusual form, thin glass, a delicate pike, original box, strong provenance, early-looking materials, rare subject matter, or condition issues that are hard to judge.
Also slow down before repeating listing words like antique, rare, German, mercury glass, hand-painted, wartime, Victorian, Shiny Brite, or valuable. Those words carry weight with collectors. Use them only when the ornament gives you enough support.
The more expensive or unusual the piece, the more important it is to compare it with documented examples.
Document the details
Identification gets much easier when you keep notes.
For each ornament, photograph the front, back, cap, hanger, and pike or neck. Record the material, shape, finish, condition, repairs, box or label, and anything known about where it came from. Purchase information, storage location, display notes, and comparable examples can be added when they are useful.
The Tinsel Box ornament organizer app can help keep those photos, condition notes, storage locations, Wish List ideas, and provenance details together. It is not an appraisal tool. It is a place to save the clues you do not want to lose.
Further reading for collectors
For deeper research, compare your ornaments with collector references, museum collections, and documented examples.
Jody Pritzl’s Vintage American-Made Glass Christmas Ornaments is useful for American-made glass ornaments, including caps, boxes, Shiny Brite, George Franke Sons, Premier Glass Works, and production history from the 1930s to the 1960s.
Golden Glow’s article on unsilvered WWII paper-cap ornaments is helpful for wartime American glass, unsilvered ornaments, paper caps, and the 1939–1946 production shift.
Golden Glow’s page on Victorian homemade ornaments gives useful context for handmade pieces made with chipboard, Dresden trim, printed scraps, tinsel, paper doilies, fabric, tissue, crepe paper, and cotton batting.
Corning Museum of Glass is helpful for understanding mold-blown glass, interior silvering, lacquered decoration, glitter, and applied trim.
The Henry Ford’s Shiny Brite collection record gives useful wartime context for Max Eckardt, Corning, and American-made Shiny Brite packaging.
Bob Richter’s A Very Vintage Christmas is a useful reference for the broader world of vintage Christmas collecting, decorating, preservation, and living with old holiday pieces.
Final thoughts
The more ornaments you handle and compare, the easier it becomes to notice the small things: cap wording, softened silvering, thin pikes, crisp molds, rubbed stripes, old box dividers, wartime details, or a finish that has aged in a believable way.
No single clue tells the whole story. But a group of honest clues can help you describe an ornament with more confidence and more care.
You can browse current vintage Christmas ornaments in the shop, or continue with the guides on vintage glass Christmas ornaments, antique German Christmas ornaments, vintage indent Christmas ornaments, and ornament value.
About the author
Written by Leslie Brocksmith, founder of The Tinsel Box. Leslie curates vintage Christmas ornaments and shares collector-focused guidance on ornament care, identification, storage, and display.